Homemade Stock from Kitchen Scraps

Chef Karim
CHEF
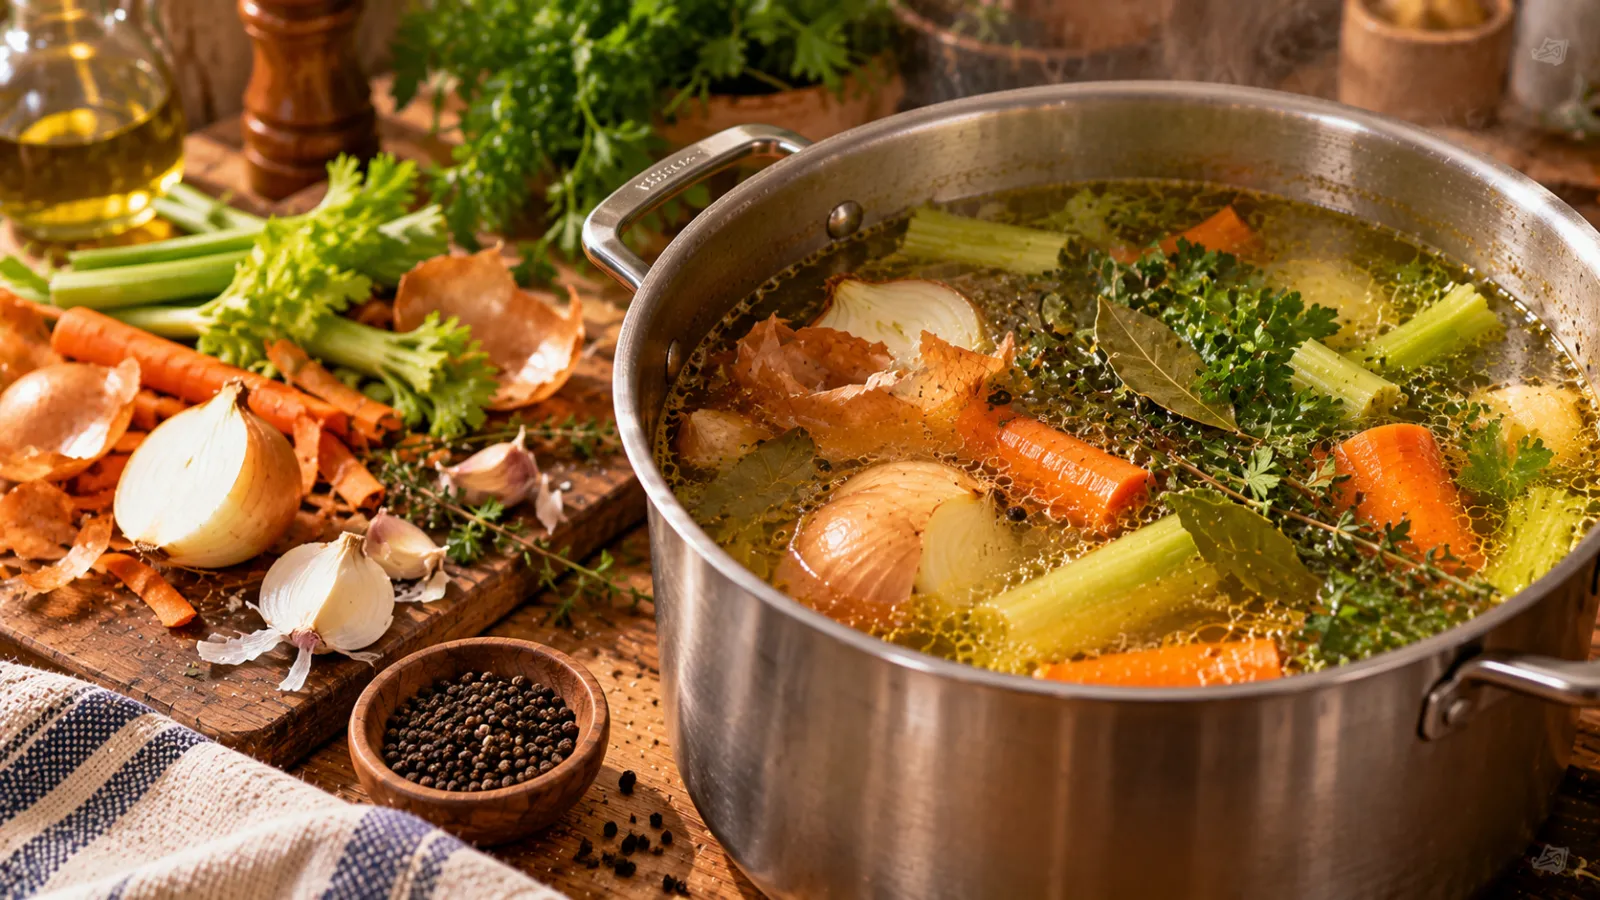
Every week, most kitchens throw away the makings of a great stock: onion ends, carrot peels, celery leaves, herb stems, and the bones from a roast chicken. With a little planning, those scraps can become a rich, savory liquid that makes soups, stews, risottos and sauces taste noticeably better than anything made with water.
Homemade stock is also one of the most forgiving things you can cook. There is no exact recipe to follow, only a few principles: collect good scraps, simmer gently, strain well, and cool and store it safely. Here is how to do each of those.
Start a freezer scrap bag
The easiest way to make stock regularly is to collect ingredients over time. Keep a large zip-top freezer bag or lidded container in the freezer and add clean scraps as you cook. When it is full, usually after a week or two, it is time to make stock.
Good scraps to save:
- Onion, shallot and leek trimmings, including some dry skins (they add golden color)
- Carrot peels and ends, celery bases and leaves
- Garlic ends and papery skins
- Mushroom stems
- Parsley, thyme and cilantro stems, plus bay leaves
- Tomato cores and the ends of bell peppers (in moderation)
- Raw or cooked chicken bones, wing tips, necks and carcasses; beef or pork bones
Scraps to leave out or use sparingly:
- Cabbage, broccoli, cauliflower and Brussels sprouts, which can make stock bitter and sulfurous
- Beet peels, which turn everything deep pink
- Potato peels and starchy vegetables, which make stock cloudy
- Anything moldy, slimy or spoiled. Stock concentrates flavors, including bad ones. Scraps should be ones you would happily cook with.
Rinse dirty peels before freezing, and keep bones in a separate bag from vegetables so you can choose what kind of stock to make.
Three basic stocks
Chicken stock
Use the carcass of one roast chicken, or about 2 to 3 pounds (1 to 1.5 kg) of raw bones such as backs, necks and wings. Wings and feet contain plenty of collagen, which gives stock a rich body that sets to a jelly when chilled. Add 3 to 4 cups of vegetable scraps, a few peppercorns, a bay leaf and some herb stems. Cover with about 12 cups (3 liters) of cold water. Simmer for 3 to 4 hours.
Vegetable stock
Fill a large pot about halfway with vegetable scraps, roughly 6 to 8 cups loosely packed, and cover with 10 to 12 cups (2.5 to 3 liters) of cold water. Onion, carrot and celery should form the backbone; mushroom stems and a spoonful of tomato paste add savory depth. Vegetable stock is quick: simmer for 45 minutes to 1 hour. Beyond that, vegetables can start to taste stewed and bitter.
Beef stock
For a deep, brown stock, roast about 3 to 4 pounds (1.5 to 2 kg) of beef bones, ideally a mix of meaty bones and knuckle or marrow bones, on a sheet pan at 425°F (220°C) for 40 to 45 minutes until well browned. Add onion and carrot scraps for the last 15 minutes. Transfer everything to a pot, pour a little water into the hot pan, scrape up the browned bits and add them too. Cover with cold water and simmer for 6 to 8 hours.
Simmer, don't boil
Always start with cold water. As the pot slowly heats, proteins from the bones coagulate and rise to the surface as grey foam. Skim this off with a large spoon during the first 20 to 30 minutes for a cleaner-tasting, clearer stock.
Once the stock reaches a simmer, turn the heat down so that only a few small bubbles break the surface every second or two. This gentle temperature is the most important rule of stock making. A rolling boil churns the fat and tiny particles into the liquid, producing a cloudy, greasy stock with a muddy flavor. A slow simmer extracts flavor and gelatin while keeping the stock clean.
Leave the pot uncovered or with the lid slightly ajar, and top up with hot water if the level drops below the ingredients. Do not stir; it breaks up the solids and clouds the stock.
Hold off on salt. Stock is an ingredient, not a finished dish, and it may be reduced later for a sauce, which would concentrate any salt. Season the dish you make with it instead.
Straining
- Turn off the heat and let the pot sit for a few minutes so the solids settle.
- Use tongs or a slotted spoon to lift out the large bones and vegetables, which makes the pot lighter and safer to handle.
- Set a fine-mesh sieve over a large bowl or pot. For extra clarity, line it with a double layer of cheesecloth or a clean, thin kitchen towel.
- Ladle or carefully pour the stock through the sieve. Do not press hard on the solids, which pushes cloudy particles through.
- Discard the spent scraps. They have given up their flavor.
Expect roughly 8 to 10 cups (2 to 2.5 liters) of stock from a standard batch, depending on how long it simmered.
Cooling and storing safely
Stock is a nutrient-rich liquid, so it needs to be cooled promptly. A large, hot pot placed straight in the fridge can take many hours to cool in the center, and it warms up everything around it. Aim to get the stock below 40°F (4°C) and refrigerated within 2 hours.
- Divide it. Pour the stock into several shallow containers so it cools faster.
- Use an ice bath. Set the bowl of strained stock in a sink filled with ice and cold water, and stir every few minutes.
- Refrigerate at or below 40°F (4°C) once it has stopped steaming, leaving lids slightly open until fully cold.
Refrigerated stock keeps for 3 to 4 days. Once it is chilled, the fat will harden on top and can be lifted off easily; it also helps seal the stock beneath. For longer storage, freeze it for up to 4 to 6 months. Freeze in containers or freezer bags laid flat, leaving about 1 inch (2.5 cm) of headspace for expansion. Freezing some in an ice cube tray gives you small portions for pan sauces and stir-fries.
When you use stored stock, bring it to a full boil before adding it to a dish, and discard any stock that smells sour or off.
Quick tips
- For a richer chicken stock, add a few raw wings to a cooked carcass.
- A splash of vinegar at the start does not hurt, but long, gentle cooking is what really pulls out the gelatin.
- Label every container with the type and date.
- Reduce strained stock by half to save freezer space, and remember to dilute it when you use it.
Once you get into the habit, a freezer scrap bag turns stock making into something you do almost without thinking, and your soups and sauces will taste better for it. If you have a fresh batch and are wondering what to make, ask the Smart Chef for soup, stew and risotto ideas built around what you have on hand.
Reader Comments (0)
Have thoughts on this article?
Sign in to leave a comment or share your experience.
No comments yet
Be the first to share your thoughts on this article!